


Hey there, cup users! We're back with another informative blog talking about all things menstrual cups. We're here to tackle an essential topic: how to clean menstrual cups like a pro.
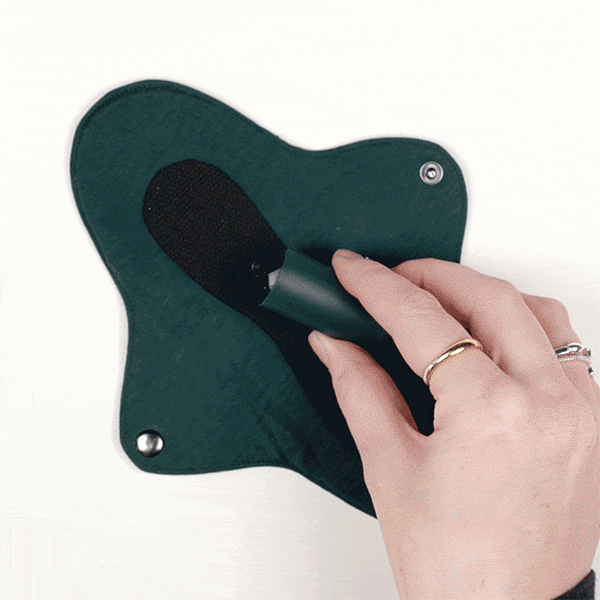
It's important to highlight that this article is about cups in general, but that our DAME Period Cup does not require boiling to clean! It is unique in this respect as it contains self-sanitising technology to ensure you just need to rinse it under clean water to clean it. As well as being lee hassle it reduces your cup's carbon footprint by 100x!
We know cup cleaning it's not the most glamorous part of cup usage, but trust us, maintaining a clean and fresh cup is key to a happy period. So, let's dive into the world of cup cleanliness and wave goodbye to any worries about menstrual hygiene or unwanted odours.
Why Cleaning Your Menstrual Cup Matters
Before we jump into the nitty-gritty of cleaning techniques, let's take a moment to understand why it's crucial to keep your cup squeaky clean. Proper cleaning not only helps maintain the lifespan of your cup but also ensures optimal hygiene and reduces the risk of infections. Plus, who doesn't want a cup that smells as fresh as a bunch of flowers? So, let's get down to business and learn the best practices for cleaning your menstrual cup.
Step 1: Preparing for Cleaning
To start off, you'll need a clean space to carry out the cleaning process. Always wash your hands thoroughly before and after coming into contact with your cup. Make sure you have access to clean water and a mild, unscented, and preferably pH-balanced soap. It's important to avoid using harsh chemicals, fragrances, or dyes, as these can irritate the delicate skin in and around your vagina.
Step 2: Removing the Cup and Emptying
First things first, gently remove your cup by carefully pulling the stem or gripping the base. Empty the menstrual fluid into the toilet and give yourself a pat on the back for successfully navigating the tricky part! Now, let's move on to the cleaning process.
Step 3: Rinse with Warm Water
Using warm water, thoroughly rinse your cup to remove any residual menstrual fluid. Make sure to pay attention to the rim, holes, and inside of the cup. A gentle swirling motion with your fingers can help dislodge any stubborn remnants. Remember, the key is to rinse until the water runs clear.
Step 4: Cleaning with Soap
Now that your cup is rinsed, it's time to clean it with a mild soap. Apply a small amount of the soap to your cup and use your fingers to create a lather, ensuring all surfaces are covered. Gently scrub the cup, paying attention to the rim, body, and stem. Take your time and be thorough.
Step 5: Rinse, Rinse, Rinse!
After cleaning with soap, it's essential to rinse your cup thoroughly to remove any soap residue. Rinse it under running water, ensuring there are no traces of soap left behind. Be meticulous in your rinsing, as soap residue can cause irritation or discomfort during your next use.
Step 6: Sterilising Your Cup
Sterilising your cup helps maintain its cleanliness and ensures proper hygiene. There are a few methods you can choose from:
- Boiling Method: Place your cup in a pot of boiling water and let it simmer for 5-10 minutes. Be sure to use a dedicated pot and avoid using metal utensils that can damage the cup.
- Microwave Method: Fill a microwave-safe container with water and place your cup inside. Heat it in the microwave for 2-3 minutes, ensuring the water reaches boiling point. Exercise caution when removing the container, as it will be hot.
- Sterilising Solution: You can also use specialised menstrual cup sterilising solutions available on the market. Follow the instructions provided with the solution to ensure effective sterilisation.

Step 7: Drying and Storage
After cleaning or sterilisation, gently pat your cup dry with a clean towel or let it air dry in a clean and well-ventilated area. Avoid using tissues or paper towels that may leave fibres on your cup. Once dry, store your cup in a breathable pouch or container until your next use.
A Fresh Start to Every Period with DAME
Congratulations, you are now cup cleaning experts! By following these simple steps and incorporating regular cleaning into your cup care routine, you'll ensure a hygienic and comfortable period experience. So, go forth with confidence, knowing that your cup is in its best condition, ready to conquer every cycle!
Join us for more cup-related adventures in our upcoming blogs. Check out our range of eco-friendly period products at DAME and embark on your journey to a greener and happier period experience.
